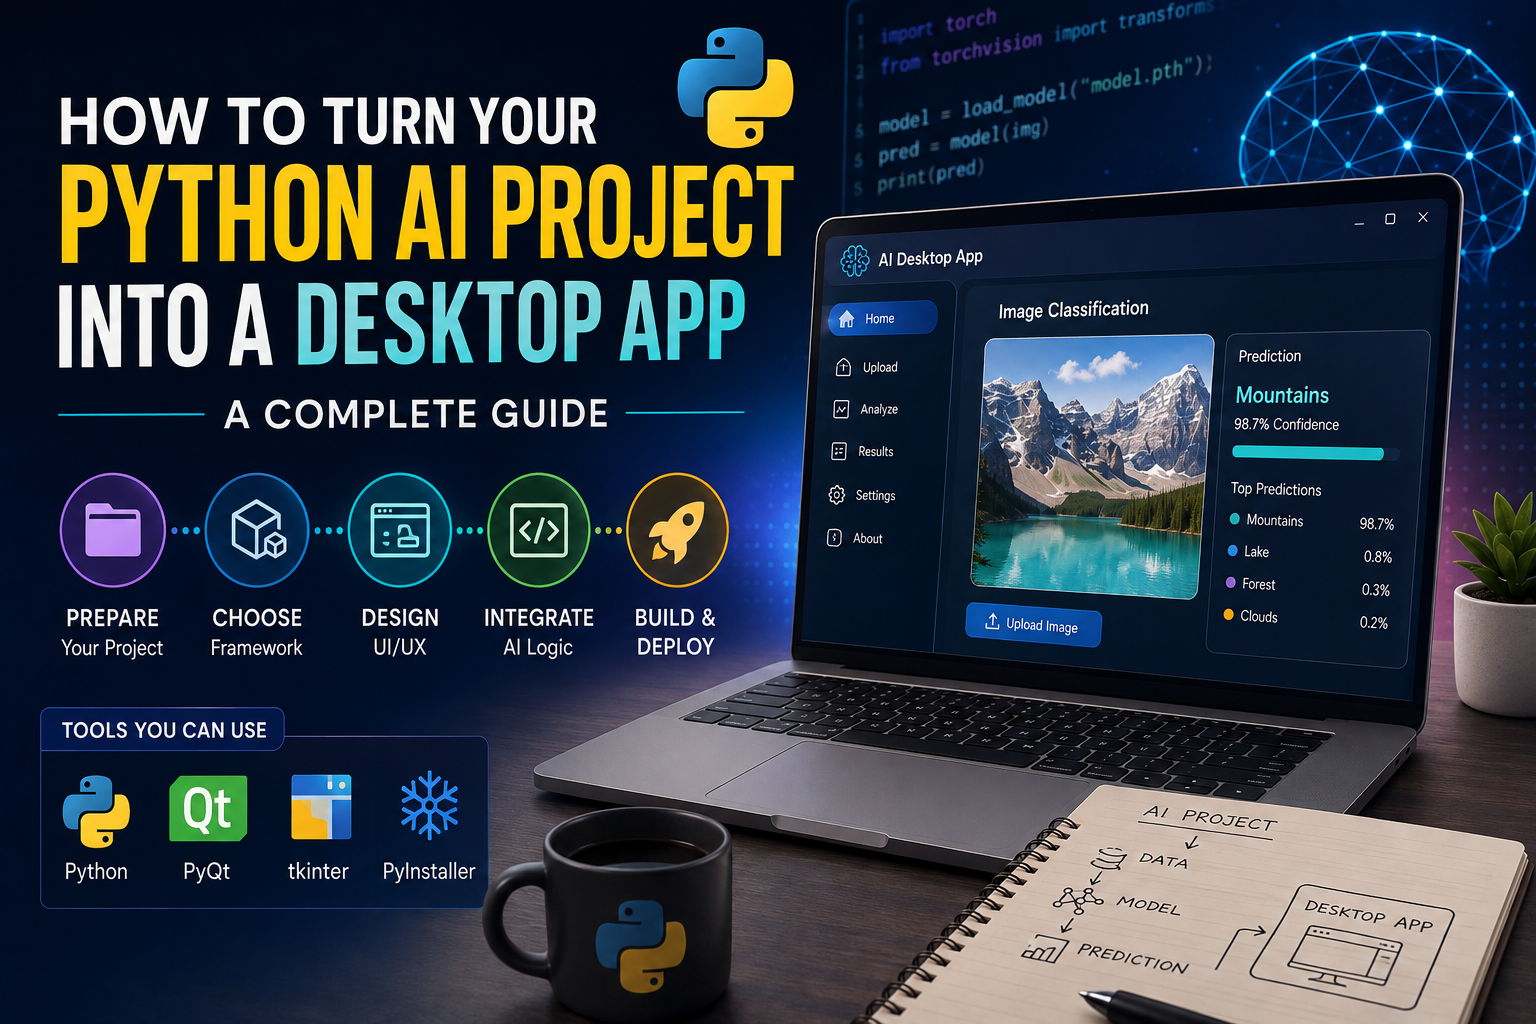
You’ve spent weeks fine-tuning a model, and it finally works — but right now, “using” it means someone else opening a terminal, activating a virtual environment, and running a script by hand. That’s fine for you. It’s a dealbreaker for anyone else. Turning that project into an actual desktop application — something people can double-click and use — is what transforms a working script into something you can genuinely share, demo, or even sell.
The good news is that this transition is far more approachable than it looks from the outside. This guide walks through the entire process, from cleaning up your project structure to picking a GUI framework, connecting your AI logic to a real interface, and packaging everything into an executable people can actually run.
Step 1: Get Your Python AI Project Ready
Before touching any GUI code, your underlying project needs to be in good shape. Skipping this step is the single most common reason desktop app conversions turn into a frustrating mess of missing files and dependency conflicts later on.
Organize Your Project Files
Structure matters more than it seems like it should. Separate your AI models, scripts, and data into clearly named folders, keep your main entry-point file at the root level so it’s easy to find and run, and clear out old or unused files before you build on top of the project. A messy codebase at this stage tends to stay messy — or get worse — once a GUI layer is added on top.
Get Your Dependencies Under Control
Generate a requirements file listing every library your project depends on:
pip freeze > requirements.txt
This becomes essential later when packaging your app, since the packaging tool needs to know exactly what to bundle. Double-check that all your dependencies are actually compatible with the Python version you’re targeting, and avoid mixing multiple versions of the same library across your environment — version conflicts are a disproportionately common source of packaging failures down the line.
Test the Core Functionality First
Before adding any interface at all, verify that your AI logic works correctly on its own. Confirm your models load properly and produce expected outputs, check that data processing runs without errors, and run your main script end-to-end to make sure the whole pipeline behaves as expected. Fixing bugs at this stage is far easier than debugging them once they’re tangled up inside GUI event handlers.
Step 2: Choose a Desktop Application Framework
The framework you pick shapes almost everything downstream — how the app looks, how fast you can build it, how large the final executable is, and how smooth the experience feels for end users.
Comparing the Main Options
PyQt and PySide are built on the Qt toolkit and offer extensive, polished widgets suited to complex interfaces — a strong choice if your app needs a genuinely professional look and feature-rich controls, though they come with a steeper learning curve.
Tkinter ships with Python by default, making it the fastest option to get started with. It’s well suited to simpler tools and quick prototypes, though it offers less visual polish and fewer built-in widgets than Qt-based alternatives.
Kivy is designed with multitouch and gesture support in mind, and it runs across Windows, Mac, Linux, and mobile — a good pick if you want your AI project to eventually reach beyond desktop.
wxPython renders with each platform’s native look and feel, which matters if you want your app to feel like it genuinely belongs on the user’s operating system rather than looking distinctly cross-platform.
Matching the Toolkit to Your Project
There’s no universally “best” choice here — it depends on your project’s complexity and your own comfort level. If you want to move fast and your interface needs are simple, Tkinter is hard to beat. If your AI project has many interconnected features and you want a genuinely polished result, PyQt or PySide are usually worth the steeper learning curve. It’s worth prototyping a small test interface in a couple of frameworks before committing — the “right” one often becomes obvious once you’ve actually built something small in each.
Step 3: Design the User Interface
A good interface is what actually makes your AI project usable by someone who didn’t build it. This is where a powerful model either becomes genuinely accessible or stays locked behind a confusing screen.
Building Layouts and Widgets
Organize your interface using layout managers to keep buttons, text fields, and labels arranged cleanly across different window and screen sizes. Use widgets deliberately — buttons for actions, text fields for input — and group related controls together so users can intuitively understand how to move through the app rather than hunting for the right button.
Displaying AI Output Clearly
Whatever your model produces — classifications, predictions, generated content — needs to show up in the interface in a way that’s immediately understandable. Labels, simple charts, and tables all work well depending on your output type. Update these dynamically as new results come in, add a loading indicator during processing so users know the app hasn’t frozen, and resist the urge to show everything at once — surfacing only the genuinely important information keeps the interface usable rather than overwhelming.
Polishing the Experience
A handful of small details go a long way toward making an app feel trustworthy and professional: tooltips or brief instructions for less obvious features, consistent colors and fonts throughout, buttons sized comfortably for easy clicking, and — critically — actually testing the interface with a real user who didn’t build it. Fresh eyes catch confusing flows that you’ve long since stopped noticing yourself.
Step 4: Connect Your AI Logic to the Interface
This is the step where your working script and your new interface actually become one functioning application.
Linking Backend and Frontend
Your AI code (the backend) needs to communicate cleanly with your interface (the frontend) — typically through functions that pass data back and forth between the two. Keep this connection code organized and modular; a tangled mix of UI logic and model logic in the same functions makes future updates painful.
Handling User Input
Capture whatever inputs your app needs — text entries, button clicks, file uploads — through your interface’s forms and controls, and validate that input before it ever reaches your AI backend. Clear, immediate feedback (a disabled button while processing, a visible error message on invalid input) keeps users informed about what’s actually happening, rather than leaving them wondering if something broke.
Displaying Results Effectively
Once your model finishes processing, get the results onto the screen quickly and clearly — text boxes, charts, or images depending on what your output actually looks like. Update the interface promptly after processing completes, and consider adding an option to save or export results, since users working with AI output often want to keep it for later rather than just viewing it once.
Step 5: Package Your Application
This is the step that actually turns your Python project into something a non-technical user can run without installing Python, pip, or any of your dependencies themselves.
Choosing a Packaging Tool
PyInstaller is the most widely used option and handles complex projects with many dependencies well — a solid default choice for most AI projects given how many libraries a typical model pipeline touches.
cx_Freeze is a lighter-weight alternative that works well for simpler applications where you don’t need PyInstaller’s full feature set.
Getting started with PyInstaller is as simple as:
pip install pyinstaller
pyinstaller your_script.py
This bundles your script and its dependencies into a standalone executable, ready to distribute.
Configuring the Executable
A few configuration touches make a real difference in how professional the final product feels: add a custom icon, set the app name and version properly, and hide the console window if your app has a proper GUI (nothing undermines a polished interface like a stray terminal window popping up behind it). Make sure any additional files your AI logic needs — model weights, config files, reference data — are explicitly included in the packaging step, since these are easy to forget and cause confusing runtime errors on another machine.
Testing the Packaged App Thoroughly
Before sharing your app with anyone, run the packaged executable on a different machine than the one you built it on — this catches missing files and environment assumptions that work fine in your dev setup but break elsewhere. Verify that models load correctly, the interface responds as expected, and there are no startup errors. Any issues here are almost always fixable by adjusting your packaging configuration.
Step 6: Distribute Your Application
Building an Installer
A proper installer makes setup far smoother for end users than handing them a raw executable. Both PyInstaller and cx_Freeze can help produce distributable packages, and adding your own icon and license information to the installer gives the whole thing a more trustworthy, professional feel.
Supporting Multiple Platforms
If you want your app available beyond just your own operating system, you’ll need platform-specific builds and installer formats — .exe for Windows, .dmg or .pkg for macOS, and .deb or .rpm packages for Linux. Test on each platform you’re targeting individually rather than assuming a build that works on one will behave identically on another; subtle platform differences in file paths and dependencies are a common source of surprises.
Keeping the App Updated
Once your app is out in the world, plan for ongoing maintenance — bug fixes, feature improvements based on user feedback, and a clear way to notify users about new versions. Some form of update mechanism (even a simple version-check on launch) saves users from having to manually reinstall every time you ship an improvement, and consistent communication about updates builds real trust in your app over time.
Common Challenges to Expect
A few issues come up repeatedly in this kind of conversion, so it’s worth knowing them in advance: dependency management gets genuinely tricky once you’re bundling everything into a single executable, large AI model files can bloat your app’s size significantly and may need separate handling or download-on-first-run strategies, and cross-platform compatibility requires real testing rather than assumptions — code that runs perfectly on your development machine can still fail in subtle ways elsewhere. Careful packaging and thorough testing on target platforms are what separate a smooth release from a frustrating one.
Final Thoughts
Converting a Python AI project into a desktop application is a genuinely achievable project once you break it into stages: clean up your codebase, pick a GUI framework that fits your needs and skill level, build an interface that actually communicates your AI’s output clearly, wire the two together, and package the result into something anyone can run. Each step is well-documented and supported by mature, widely used tools — there’s no need to reinvent any of this from scratch.
Start with the simplest version of your interface that actually works, get the full pipeline running end to end, and polish from there. A functional, slightly plain desktop app that people can actually use beats a beautiful interface that never got past the prototype stage.