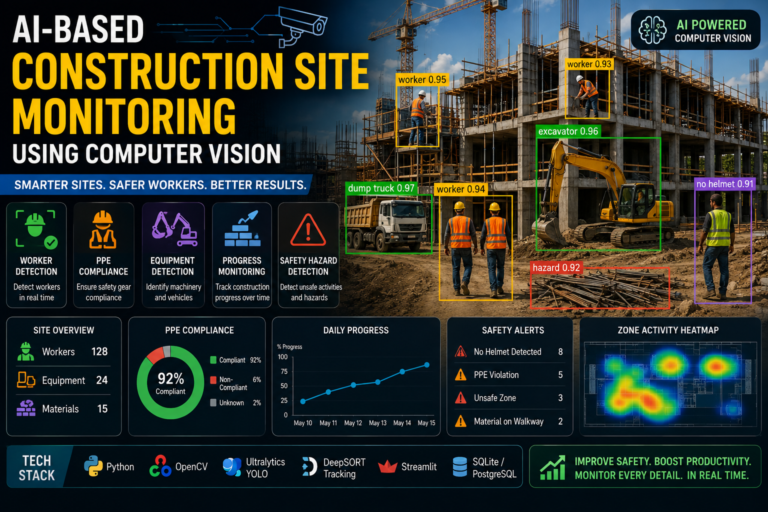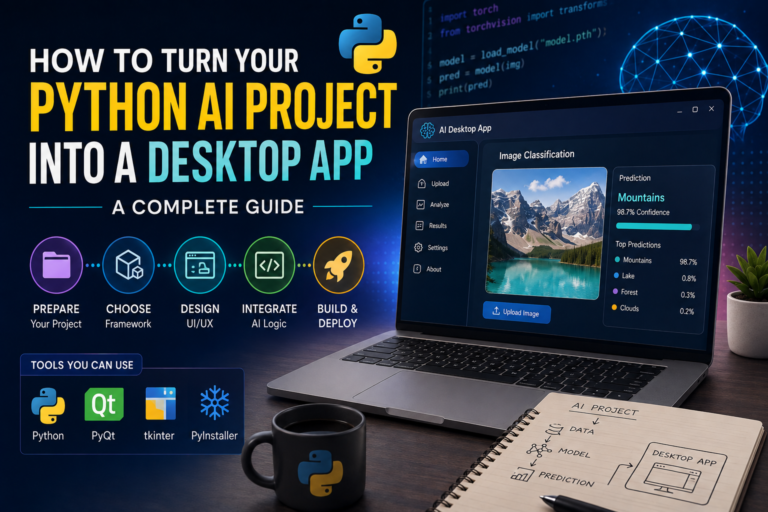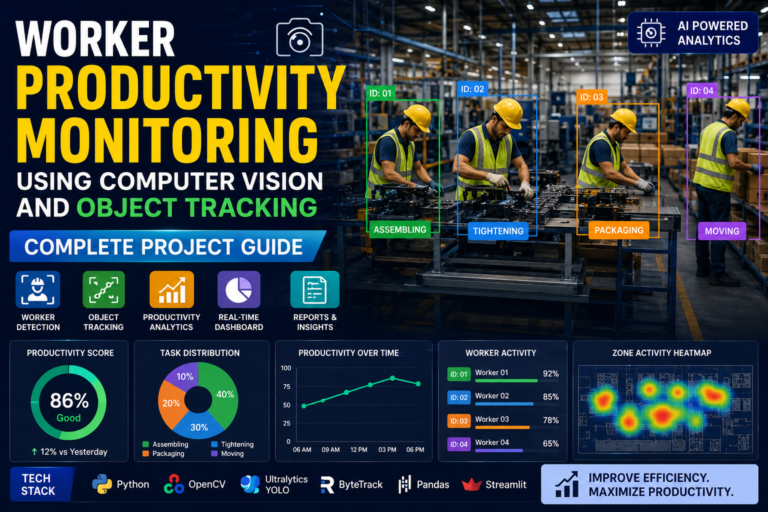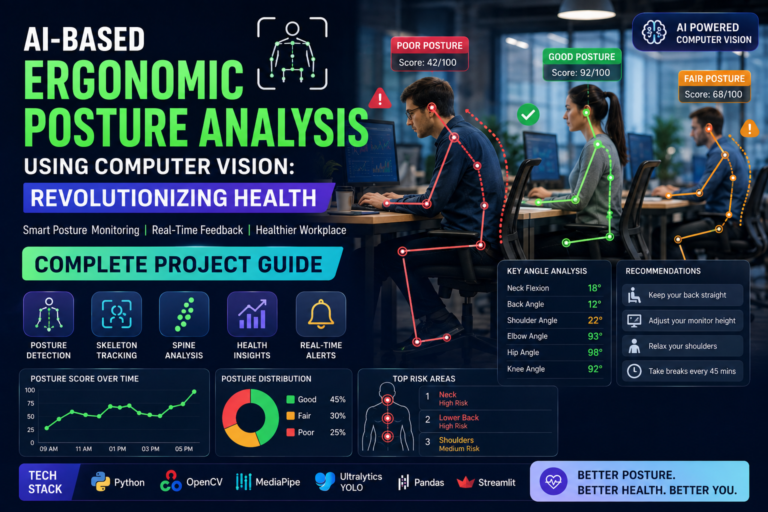
If you’ve ever wanted a computer to “see” and identify objects in real time — cars on a street, faces in a crowd, defects on a production line — YOLO (You Only Look Once) is the algorithm that makes it possible, and it’s far more approachable than most beginners expect. This guide walks you through building a complete YOLO object detection project from scratch, even if you’ve never touched computer vision before.
By the end, you’ll have a working object detector running on your own images or webcam feed, and a solid understanding of what’s happening under the hood.
What Is YOLO Object Detection, and Why Does It Matter?
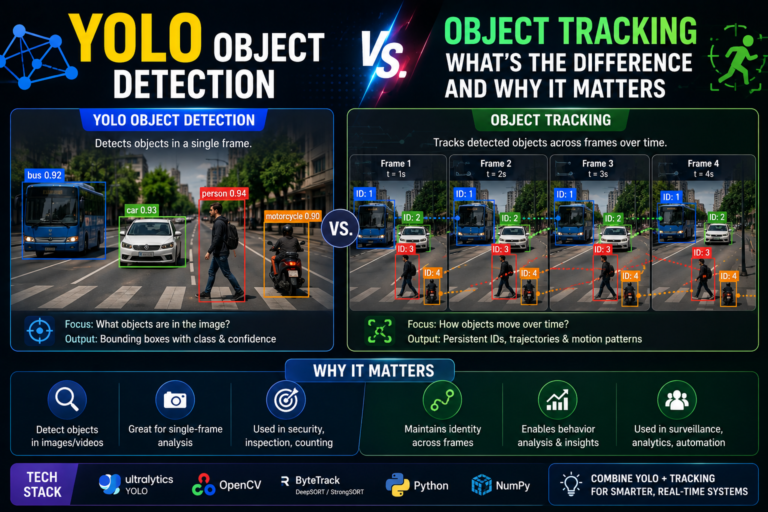
YOLO is a deep learning algorithm that detects and classifies multiple objects in an image in a single pass — hence “You Only Look Once.” Unlike older approaches that scan an image in multiple stages (propose regions, then classify each one), YOLO treats detection as one regression problem, predicting bounding boxes and class probabilities simultaneously. This makes it dramatically faster than traditional methods like R-CNN, while still being highly accurate.
That speed-accuracy tradeoff is why YOLO has become the go-to choice for:
- Real-time applications: autonomous vehicles, robotics, live video surveillance
- Edge devices: Raspberry Pi, Jetson Nano, embedded systems with limited compute
- Industrial use cases: quality control, inventory counting, safety monitoring
- Hobbyist and academic projects: because it’s open-source, well-documented, and has an enormous community
If you’re a student, developer, or engineer looking to break into computer vision, YOLO is one of the best entry points available.
Prerequisites: What You Need Before Starting
You don’t need a PhD to get started, but a few basics will make the journey smoother:
- Basic Python knowledge — variables, loops, functions, and installing packages with pip
- A working Python environment — Python 3.8 or later is recommended
- Some familiarity with machine learning concepts — helpful but not mandatory (we’ll explain as we go)
- A GPU (optional but recommended) — training is much faster with an NVIDIA GPU and CUDA installed; inference-only projects can run fine on CPU
If you don’t have a GPU, don’t worry — you can still complete this entire project using a free Google Colab notebook, which gives you temporary access to a cloud GPU.
Step 1: Choose Your YOLO Version
YOLO has evolved through many versions since its original 2016 release, and this can be confusing for beginners. Here’s a quick breakdown to help you decide where to start:
| Version | Best For | Notes |
|---|---|---|
| YOLOv5 | Beginners, huge community support | Extremely well documented, PyTorch-based |
| YOLOv8 | Most modern projects | Actively maintained, easy CLI and Python API |
| YOLOv9 / YOLOv10 | Cutting-edge performance | Newer, smaller community, more experimental |
| YOLO-NAS | Enterprise-grade accuracy | Best for production deployments |
Recommendation for beginners: Start with YOLOv8 from Ultralytics. It has the cleanest API, active maintenance, excellent documentation, and works for detection, segmentation, and classification — all in one package.
Step 2: Set Up Your Development Environment
Let’s get your environment ready. Open your terminal and create a dedicated project folder and virtual environment to keep dependencies clean.
mkdir yolo-first-project
cd yolo-first-project
python -m venv venv
source venv/bin/activate   # On Windows: venv\Scripts\activate
Now install the Ultralytics YOLO package, which bundles everything you need:
pip install ultralytics
This single package installs YOLOv8, PyTorch, and all the supporting libraries for training, validation, and inference.
Verify your installation:
yolo checks
If everything is installed correctly, you’ll see a summary of your Python version, PyTorch version, and whether a GPU is detected.
Step 3: Run Your First Detection (Using a Pretrained Model)
Before training anything yourself, it’s worth experiencing YOLO’s power out of the box. Ultralytics provides models pretrained on the COCO dataset, which already recognizes 80 common object classes — people, cars, dogs, chairs, laptops, and more.
Run detection on a sample image with just one command:
yolo predict model=yolov8n.pt source='https://ultralytics.com/images/bus.jpg'
Here’s what’s happening:
model=yolov8n.ptdownloads the “nano” version of YOLOv8 — the smallest, fastest variant, ideal for testingsource=points to the image (a local file path, folder, video, or webcam index all work here)
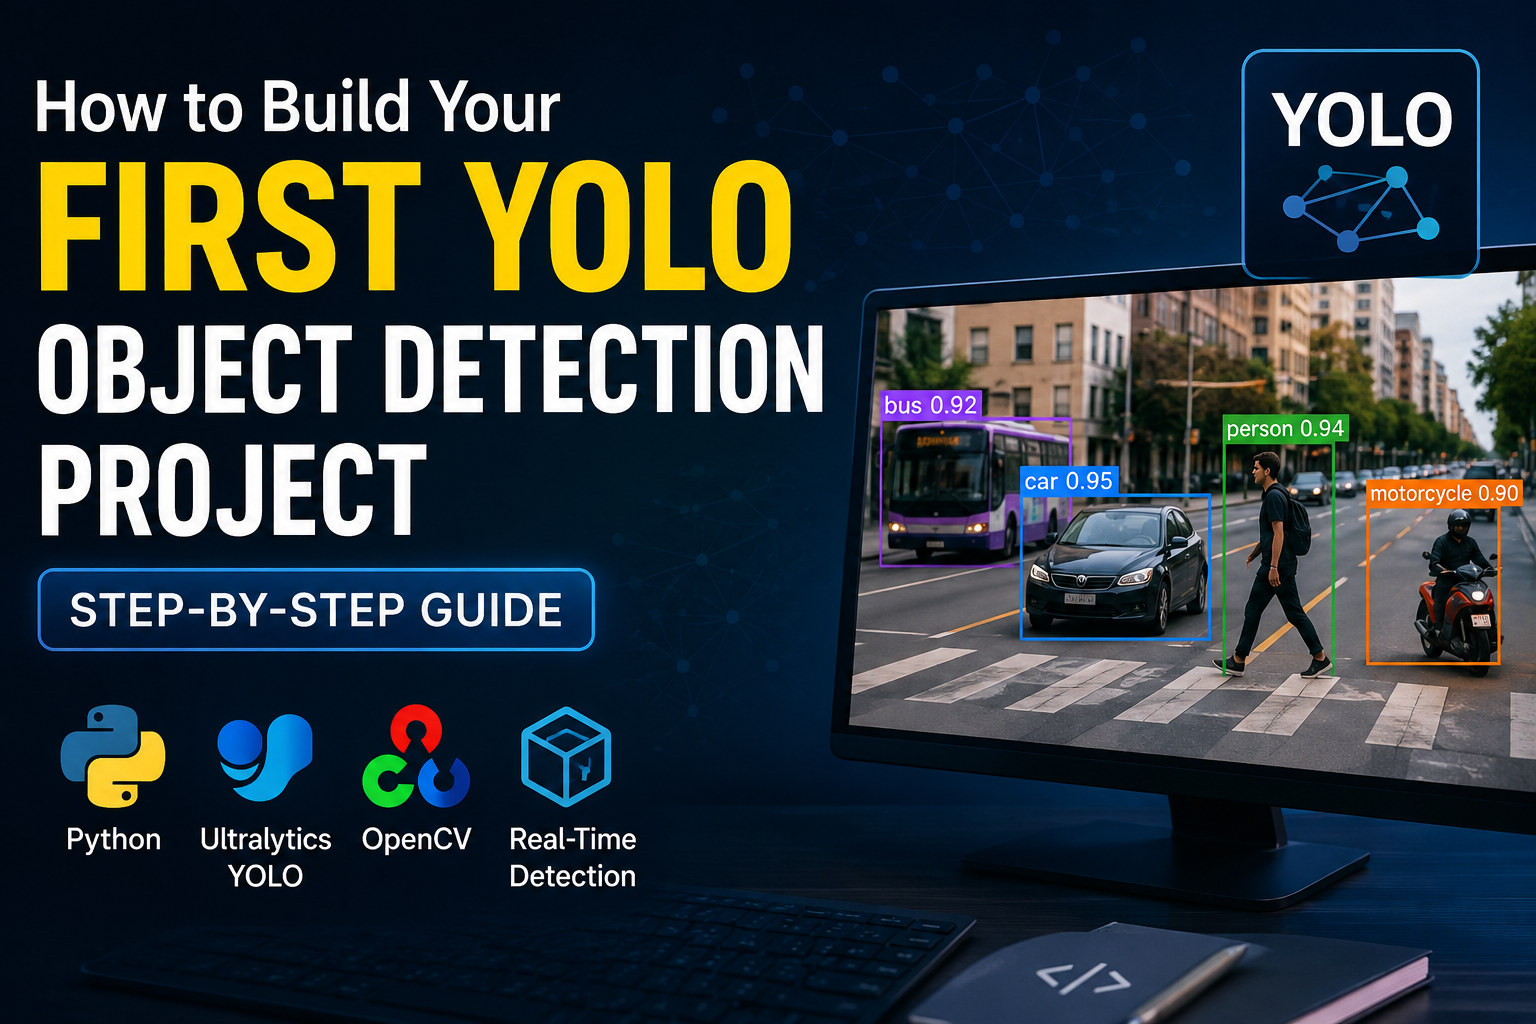
Within seconds, YOLO will process the image and save an annotated output with bounding boxes and confidence scores in a runs/detect/predict folder. Open it, and you’ll see people and a bus neatly boxed and labeled — no training required.
Try it on your own webcam:
yolo predict model=yolov8n.pt source=0 show=True
This opens your webcam and detects objects live, right in a window on your screen.
Step 4: Understand the Model Sizes
YOLOv8 comes in five sizes, each balancing speed against accuracy:
- YOLOv8n (nano) — fastest, least accurate, great for edge devices and quick testing
- YOLOv8s (small) — good balance for lightweight applications
- YOLOv8m (medium) — solid general-purpose choice
- YOLOv8l (large) — higher accuracy, needs more compute
- YOLOv8x (extra-large) — highest accuracy, best for GPU-heavy production use
For your first project, stick with yolov8n or yolov8s — they train faster and are easier to debug.
Step 5: Prepare Your Own Dataset
Detecting the 80 COCO classes is fun, but the real value of YOLO comes from training it to detect your custom objects — a specific product, a type of defect, a species of plant, whatever your project needs.
5.1 Collect Images
Gather at least 100–200 images per class for a basic proof of concept (more is always better — production models often use thousands). Make sure your images cover:
- Different lighting conditions
- Multiple angles and distances
- Cluttered and clean backgrounds
- Partial occlusions (objects partly hidden)
5.2 Label Your Images
YOLO requires annotations in a specific format: one .txt file per image, with each line representing one object as:
class_id center_x center_y width height
All values are normalized between 0 and 1. You don’t need to calculate this by hand — use a labeling tool:
- Roboflow — free, browser-based, exports directly in YOLO format (highly recommended for beginners)
- LabelImg — lightweight desktop annotation tool
- CVAT — powerful, good for larger teams and datasets
Roboflow is particularly beginner-friendly because it also handles dataset splitting, augmentation, and format conversion automatically.
5.3 Organize Your Dataset Folder
Your dataset should follow this structure:
dataset/
├── train/
│   ├── images/
│   └── labels/
├── valid/
│   ├── images/
│   └── labels/
└── data.yaml
5.4 Create the data.yaml Configuration File
This file tells YOLO where your data lives and what classes exist:
train: dataset/train/images
val: dataset/valid/images

nc: 2
names: ['cat', 'dog']
nc is the number of classes, and names lists them in order matching your class IDs.
Step 6: Train Your Custom YOLO Model
With your dataset ready, training is a single command:
yolo train model=yolov8n.pt data=dataset/data.yaml epochs=100 imgsz=640
Breaking this down:
model=yolov8n.pt— start from the pretrained nano model (this is called transfer learning, and it dramatically speeds up training)data=— path to your data.yaml fileepochs=100— number of full passes through your dataset (start around 50–100 for small datasets)imgsz=640— image resolution used during training
Training progress prints live in your terminal, showing loss values and accuracy metrics like mAP (mean Average Precision) after each epoch. On a modern GPU, 100 epochs on a small dataset might take 20–40 minutes; on CPU, expect several hours.
Tip: If you don’t have a local GPU, run this exact same command inside a free Google Colab notebook with the GPU runtime enabled — it works identically.
Step 7: Evaluate Your Model’s Performance
Once training finishes, validate how well your model performs on unseen data:
yolo val model=runs/detect/train/weights/best.pt data=dataset/data.yaml
Pay attention to these key metrics:
- mAP50 — accuracy at 50% overlap threshold (a good general indicator)
- mAP50-95 — stricter accuracy measure across multiple overlap thresholds
- Precision — how many detected objects were correct
- Recall — how many actual objects were successfully detected
If your metrics are underwhelming, don’t panic — this is normal for a first attempt. Common fixes include adding more training images, improving label accuracy, training for more epochs, or using a slightly larger model size.
Step 8: Run Inference With Your Custom Model
Now test your trained model on new images it has never seen:
yolo predict model=runs/detect/train/weights/best.pt source='path/to/test/image.jpg'
You should see your custom classes detected and labeled with bounding boxes, just like the pretrained demo — except now it recognizes exactly what you trained it to find.
Step 9: Deploy Your Model
Once you’re happy with performance, you have several deployment paths depending on your project:
- Export to ONNX or TensorRT for faster inference on edge devices
- Wrap it in a Flask or FastAPI app to serve predictions via a web API
- Deploy to a Raspberry Pi or Jetson Nano for real-world embedded applications
- Integrate into a mobile app using YOLO’s mobile-optimized export formats
Exporting is straightforward:
yolo export model=runs/detect/train/weights/best.pt format=onnx
Common Beginner Mistakes to Avoid
- Too few training images — YOLO needs variety to generalize well; a handful of near-identical photos won’t cut it
- Inconsistent or sloppy labeling — bad annotations directly translate to bad predictions
- Training for too few epochs — give the model enough passes to actually learn patterns
- Ignoring class imbalance — if one class has 500 examples and another has 10, your model will favor the majority class
- Skipping validation data — always hold out images the model never trains on, so you get an honest performance measure
Final Thoughts
Building your first YOLO object detection project is one of the most rewarding ways to step into computer vision — you go from an abstract concept to a model that visibly “sees” and labels the world in front of it, often within a single afternoon. Start small: use a pretrained model, experiment with a tiny custom dataset, and iterate from there. Once you’re comfortable with this workflow, you’ll be equipped to tackle far more ambitious projects, from real-time surveillance systems to industrial inspection tools.
The best way to learn YOLO is simply to run it — so open your terminal, install Ultralytics, and detect something today.